Getting Started
Create a Free Account
To create an account simply navigate to the registration page and enter your details.
All accounts are free, you do not need a credit card to get started, and you will get free credits each month that can be used with any flow step in our library.
Install a Flow Step
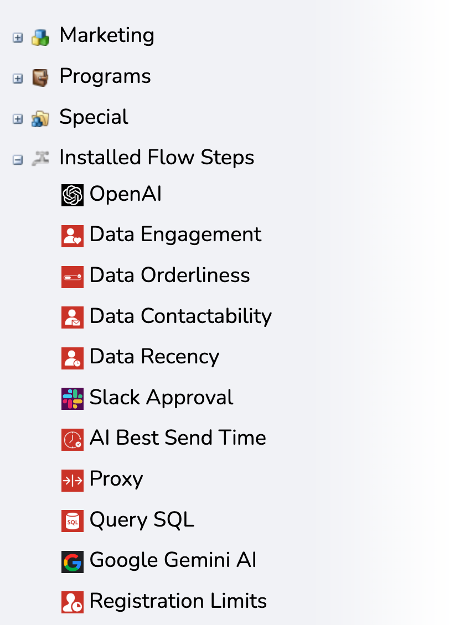
Once you create your account, navigate to our Flow Step Library to see all of the actions available. Select a Flow Step and follow the instructions. Installation usually takes less than 10 minutes.
Add Credit
In addition to the free monthly credits, you may choose to add credit to your account. Credits are valid for 1 full year from purchase and may be used for any public Flow Step in our library.
Installing a Flow Step


Below are general instructions for Flow Step installation, however detailed instructions including field mapping and tables are available in the Installation tab of each Flow Step page.
Marketo

Installation URL
Flow Step Service

Confirm installation
API Key
Flow Step Service

Enter Credentials
Please provide an API Key. Valid API credentials from are required to complete installation.

Once your API key is entered, the following steps are specifically tailored to the Flow Step that you are installing however the generally follow this order:
Outgoing Field Mapping
If the flow step has outgoing fields then you will see a step for configuring the mapping. If not this step will be skipped. There are 2 types of mapping:
- Service Driven: If the service has fields that it needs to be sent from Marketo to complete the action you will see them here. A suggested Marketo field may be auto selected to be mapped, or you may need to set one. Either way, you can always set the field you wish to use and also set the mapping to active / inactive. These settings can always be updated later on in the admin area.
- User Driven: The service may elect user driven mapping which means you as the user select the fields that will be sent to the flow step when invoked. The configuration of this is open, so further details will be provided in the specific Flow Step documentation.
Incoming Field Mapping
Likewise, if the flow step has incoming fields then you will see a step for configuring the mapping. If not this step will be skipped. Again there are 2 types of mapping:
- Service Driven: If the service has fields that passes back to Marketo upon completion of the action you will see them here. A suggested Marketo field may be auto selected to be mapped, or you may need to set one. Either way, you can always set the field you wish to write to and also set the mapping to active / inactive. These settings can also be updated later on in the admin area.
- User Driven: The service may elect user driven mapping which means you as the user select the person fields that can be written to by the flow service when it runs. As the configuration of this is open, so further details will be provided in the specific Flow Step documentation.
Configuration Options
Here you will see a list of global inputs. These Global user inputs that are passed along with every call to the flow step service. Global attributes can be set during installation or updated from the Service Provider admin menu.
Approve Contexts & Finish
Here you will see a list of contexts that are required by the service. This context data provides useful data about the Program, Program Member, Smart Campaign, Trigger and program tokens involved with the invocation of the Flow Action.
This is the final step in the installation process and all that is required is to click Save.
Using the Flow Steps

